Clear paper jam
Use the following steps to clear a paper jam.
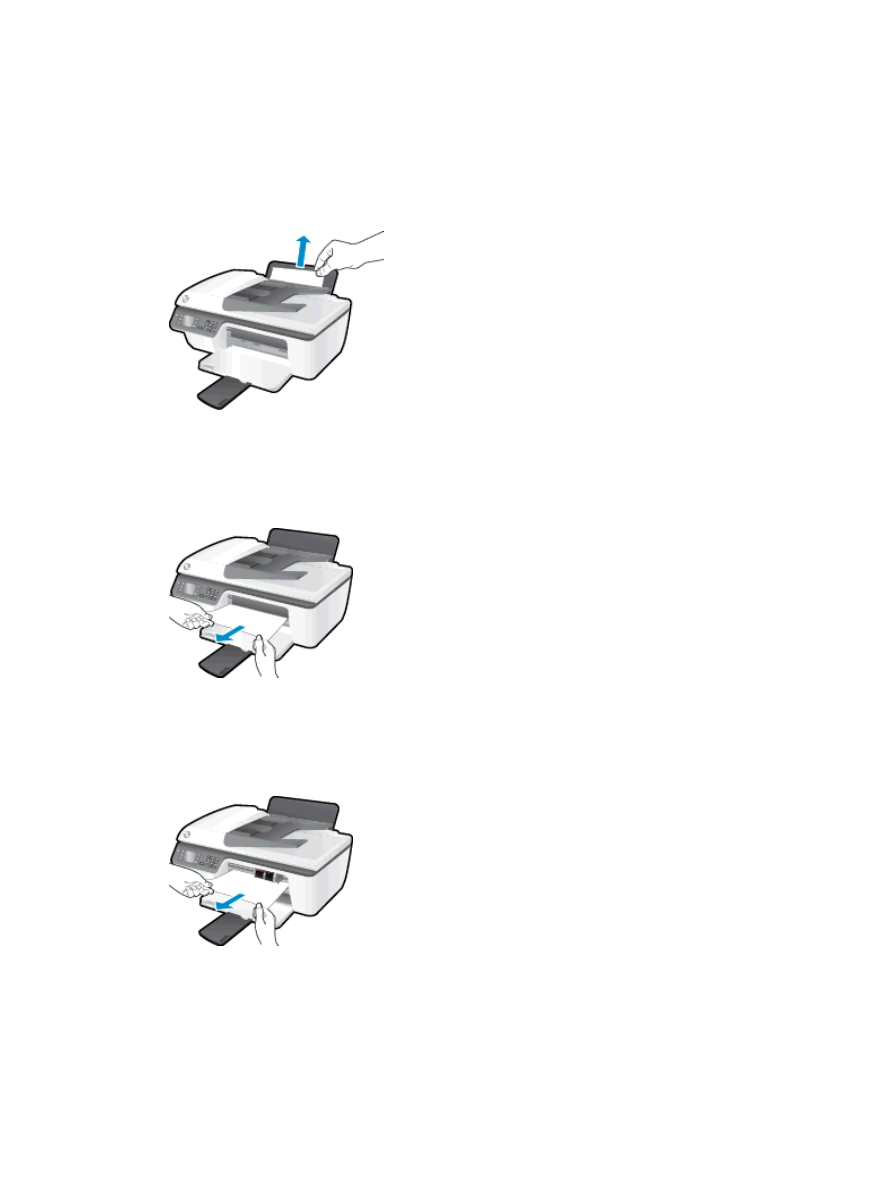
To clear a paper jam from the input tray
1.
Pull the paper gently out of the input tray.
2.
Press the OK button on the control panel to continue the current job.
To clear a paper jam from the output tray
1.
Pull the paper gently out of the output tray.
2.
Press the OK button on the control panel to continue the current job.
To clear a paper jam from the cartridge access area
1.
Open the cartridge access door and slide the print carriage to the right to access the paper jam.
2.
Press the OK button on the control panel to continue the current job.
To clear a paper jam inside of the printer
1.
Open the cleanout door located on the bottom of the printer. Press tabs on both sides of the
cleanout door.
70 Chapter 9 Solve a problem
ENWW
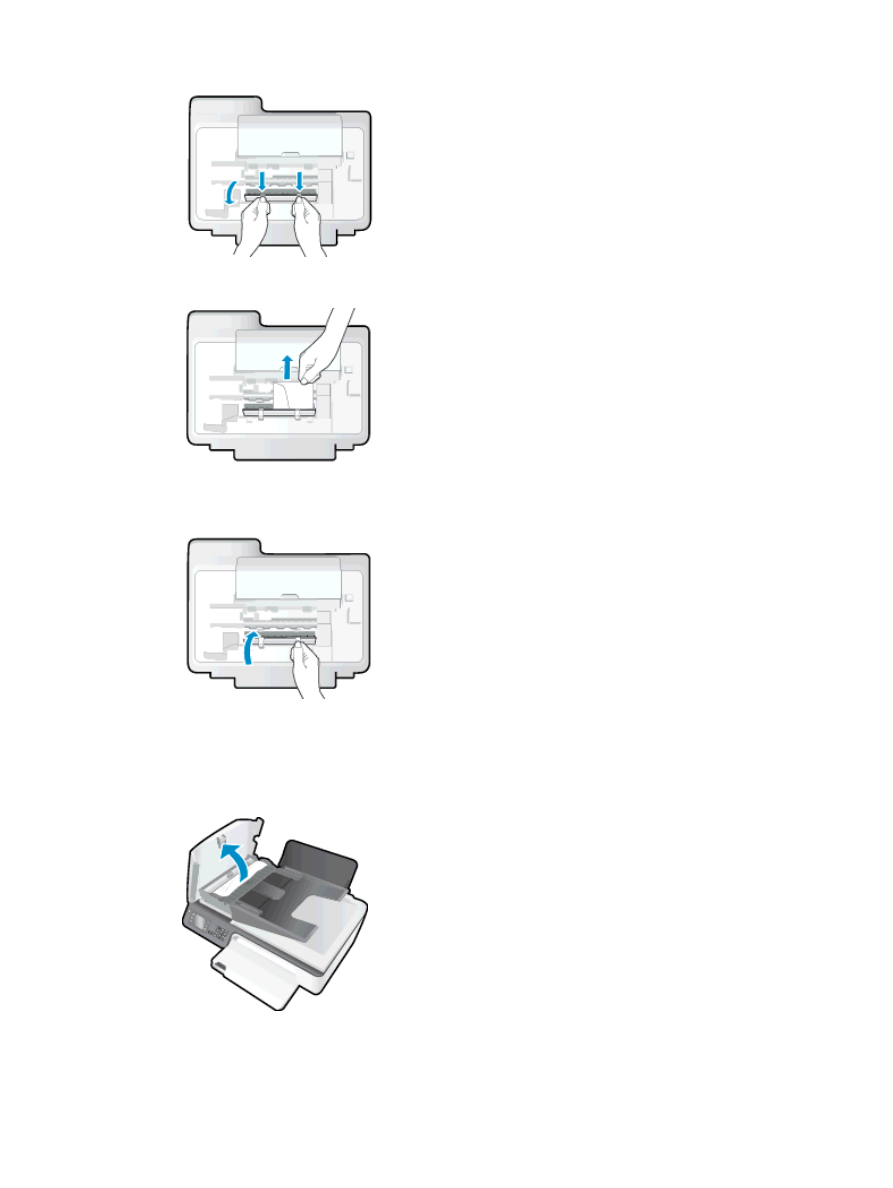
2.
Remove the jammed paper.
3.
Close the cleanout door. Gently push the door towards the printer until both latches snap into
place.
4.
Press the OK button on the control panel to continue the current job.
To clear a jam in the automatic document feeder
1.
Lift the cover of the ADF.
2.
Lift the tab located on the front edge of the ADF.
ENWW
Clear paper jam 71
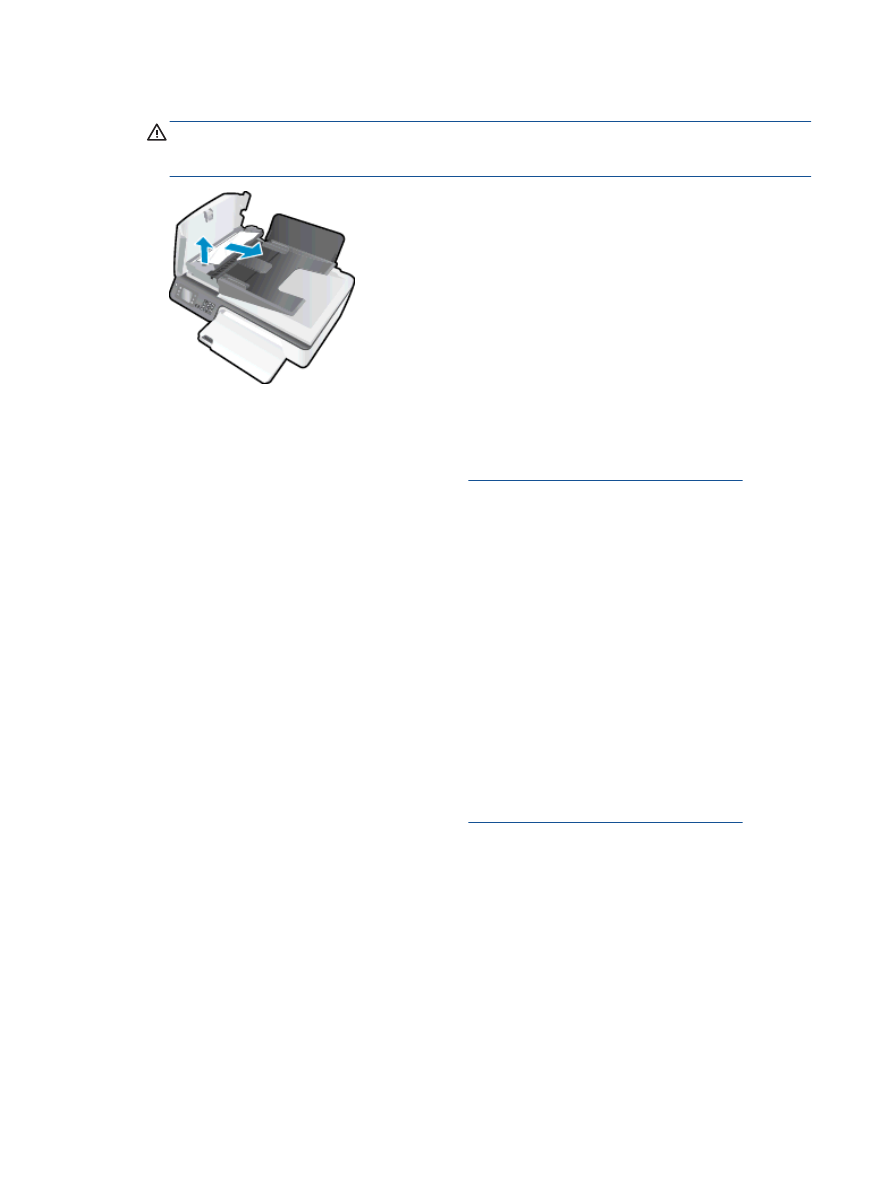
3.
Gently pull the paper out of the rollers.
CAUTION:
If the paper tears when you are removing it from the rollers, check the rollers and
wheels for torn pieces of paper that might remain inside the printer. If you do not remove all the
pieces of paper from the printer, more paper jams are likely to occur.
4.
Close the cover of the ADF, pressing down firmly until it snaps into place.
5.
Press the OK button on the control panel to continue the current job.
If the above solutions do not resolve the problem,
click here for more online troubleshooting
.
Prevent paper jams
●
Do not overfill the input tray.
●
Remove printed papers from the output tray frequently.
●
Ensure that paper loaded in the input tray lays flat, and the edges are not bent or torn.
●
Do not combine different paper types and paper sizes in the input tray; the entire stack of paper
in the input tray must be the same size and type.
●
Adjust the paper-width guide in the input tray to fit snugly against all paper. Make sure the
paper-width guide does not bend the paper in the input tray.
●
Do not force paper too far forward in the input tray.
●
Do not add paper while the printer is printing. If the printer is about to run out of paper, wait until
the out of paper message appears before adding paper.
If the above solutions do not resolve the problem,
click here for more online troubleshooting
.
72 Chapter 9 Solve a problem
ENWW